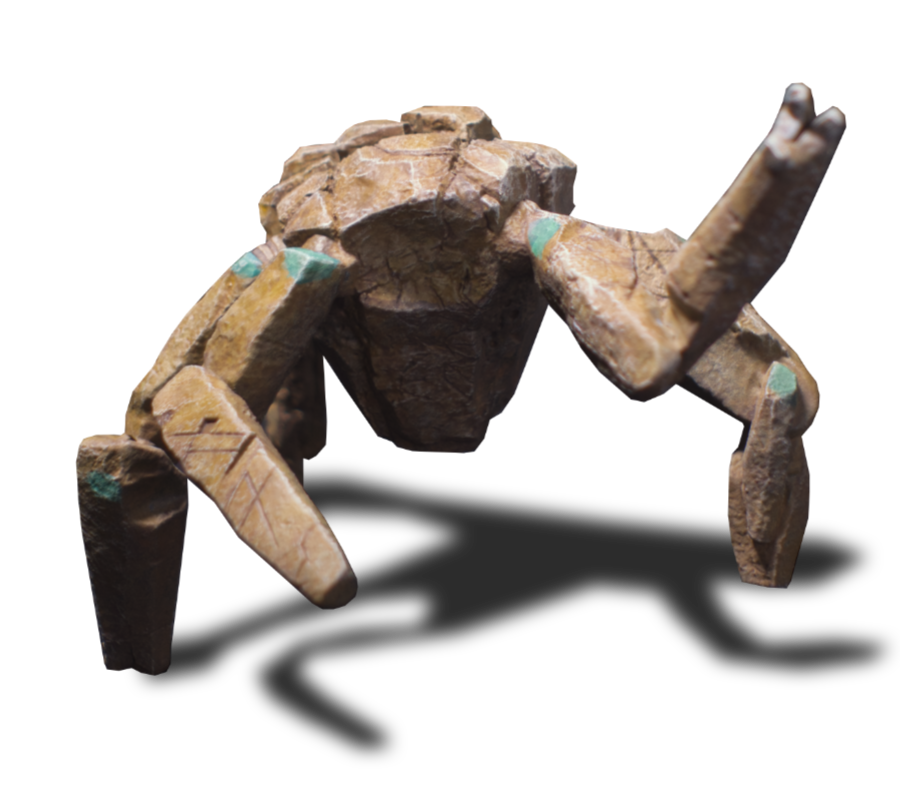
100% Free Course

Paint Rocky
and have some Fun

A step-by-step video guide to painting your 3D-printed Rocky from the official Project Hail Mary files. Nine lessons. Zero cost. Pure joy.

Rocky from Project Hail Mary - how to paint 3D printed toy.
9
Video Lessons
Free
Forever
All
Skill Levels
Made with Love
The Curriculum

Nine Steps to your own Masterpiece

From raw 3D print to a fully painted Rocky - follow along at your own pace.

Lesson 01

3D Printing Rocky

We start at the very beginning - downloading the official Rocky 3D model files from the producers and getting a clean, high-quality print. We'll cover ordering from JLC3DP service so your Rocky comes out crisp and ready for paint.

Lesson 02

Tools & Materials

A rundown of every brush, paint (don't forget to shake them!), and supply you'll need. We'll find out what works best at limited budget.

Lesson 03

Priming

The foundation of every great paint job. Learn how to properly apply primer to your 3D print to ensure paint adhesion and create a smooth surface for your acrylics. We cover both spray and brush-on primer techniques for the best results.

Lesson 04

Zenithal Priming

The secret technique that instantly shows you where light and shadow fall on your miniature. By spraying white/gray primer from above over a dark primer coat, you create a natural light map — making every subsequent painting step easier and more intuitive.

Lesson 05

Base Coating

Time to bring Rocky to life with color! We'll block in the primary color across the model, Learn thin-coat layering for smooth, streak-free coverage.

Lesson 06

Shadows

Adding depth and drama. Learn to mix and apply shadow tones in the recesses and underside of Rocky's form.

Lesson 07

Highlights

Make your Rocky pop! Highlighting and spot highlighting bring focus and energy to the highest points of the model.

Lesson 08

Details

The magic is in the details. Texture patterns, tiny accents - this is where your Rocky goes from good to stunning. We'll use fine-tip brush and steady-hand techniques to add those finishing touches that make everyone do a double-take.

Lesson 09

Crystals and Dry-Brushing

The final flourish! Rocky's green crystal parts and Dry-brushing adds subtle texture and wear that gives Rocky a realistic, organic feel. Learn the wrist motion, paint-load control, and direction techniques that bring out every detail in the sculpt.

From the Creator

A Note of Gratitude

Matt Petkiewicz
Matt Petkiewicz
Course Author
info@mateuszpetkiewicz.com
"This course was born out of pure love for Project Hail Mary and the joy of painting miniatures. I wanted to give back to this incredible community by sharing what I've learned — so everyone can have their own little Rocky sitting on their desk, glowing with personality."
A huge, heartfelt thank you to Andy Weir for writing a story that reminded us all what wonder and hope feel like — and to the entire Project Hail Mary movie crew for bringing Ryland Grace, Rocky, and the Hail Mary universe to the big screen in such a spectacular way. You brought hope back to Hollywood and inspired millions of us to dream bigger.

♫ "Fist my bump." ♫